
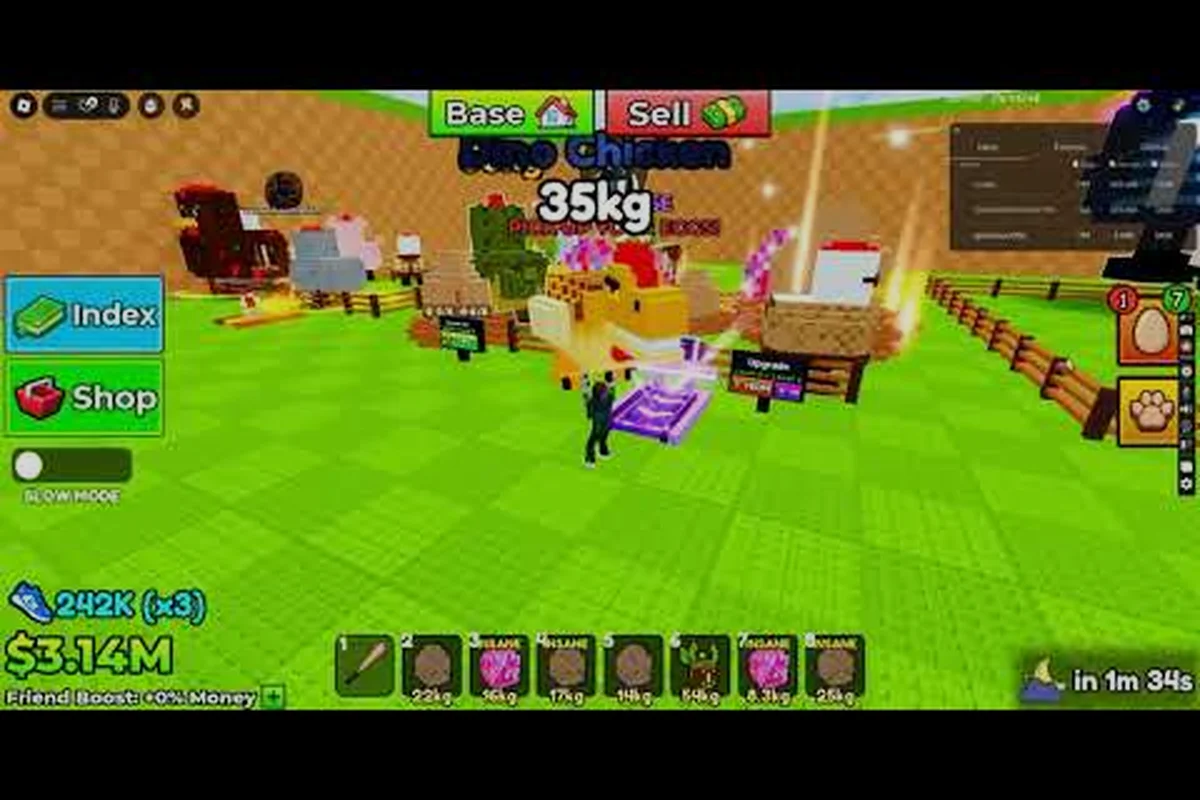
Going solo in Steal a Chicken means the Guard is your only constant threat, but every other thief on the field is also competing for the same nests, the same eggs, and the same Merchant payouts. This Steal a Chicken solo guide covers the timing windows, bat-pressure tactics, and escape routes that let a lone player out-earn and out-survive full squads without trading blows. The strategies below come from community testing on the live field and are tuned for the September 2026 patch on the official Steal a Chicken Roblox page.
Solo Setup Before the First Heist
The biggest mistake solo players make is rushing into the field before their loadout matches the role they want to play. A solo thief has to be three things at once: a runner, a brawler, and a negotiator with the Merchant, because there is no teammate to carry the slack.
Build Priority and Code Pre-Load
Before anything else, redeem the September 2026 active codes for free Cash. According to GameRant's September 2026 code list, the active codes are Crystal, Relax, Release, and September, with September granting 1K Cash on redemption. Cash spent early on Treadmill Speed pays for itself within the first three nights because every second shaved off the run to a nest compounds across hundreds of trips.
| Code | Reward | Best Spend |
|---|---|---|
| Crystal | Cash | Pen size upgrade |
| Relax | Cash | Bat recharge speed |
| Release | Cash | Guard detection cooldown |
| September | 1K Cash | First Treadmill Speed tier |
Joining the Kibrix Runner Roblox group grants a flat +10K Speed bonus that applies to your solo runs at all times, which is essentially a free permanent upgrade that does not cost a single coin.
Map Awareness and Nest Spawning
Solo players who memorize the nest layout survive far longer than those who rely on instinct. The map has roughly six active nest clusters, but the highest-yield ones sit closest to the Merchant's path, which means you can run chicken-to-egg-to-Merchant on a tight loop without crossing the Guard's main patrol corridor. New chickens spawn every night, so after a successful sell run the previously empty nest is usually populated again, giving you a near-constant supply.
If you need a broader overview of the core loop, including how the egg-to-Merchant handoff works, the Steal a Chicken beginner guide breaks down the basics in more detail. The solo angle layered on top of those fundamentals is the focus here, so treat the beginner guide as the floor of skill you should already have before applying these advanced tactics.
The Solo Run Cycle: Steal, Lay, Sell
A solo player has no teammate to cover downtime, which is why the entire run should lock into a four-step steal→lay→sell→reset cycle that you can repeat on autopilot while watching the in-game clock and coop slot timers. When you break that rhythm, the typical failure is a missed coop window, a stolen chicken dying in your backpack, or a half-laid batch that pays below the coop's base value — so the real skill isn't the steals themselves, it's hitting every transition on time and rotating to a fresh coop before the current one's egg yield drops off.
Step 1: Approach Timing
Wait until the Guard is locked onto another thief before approaching a high-value nest. The Guard's aggro is single-target with a short leash, which means a bat swing from a competing player is your cue to start running. Most solo players underestimate how much free time a distracted Guard buys them, often 8-12 seconds of uncontested nest access, which is enough to pick up a chicken and start heading back.
Step 2: The Bat Pressure Window
Your bat is not just a defensive tool; it is a positioning tool. Swinging at another thief forces them to drop whatever chicken they are carrying, and the dropped chicken can sometimes be picked up by you on the same frame if your pathing is correct. Use the bat to clear nests before you reach them, because approaching an empty nest wastes the most valuable resource you have, which is time.
Step 3: Egg Laying and Pen Build-Out
Carrying the chicken back to your pen is only half the work. The chicken must lay an egg, and the egg must be carried to the Merchant for payout. Pen size determines how many chickens you can keep laying in parallel, so spending Cash on pen upgrades is the second priority after Treadmill Speed. Each additional chicken in your pen multiplies your per-night egg output, which means solo earnings scale non-linearly with pen size.
Step 4: Merchant Sell Timing
The Merchant pays the same flat rate per egg regardless of the time of night, but the safe windows to reach the Merchant shrink as more thieves pile up near the same chokepoint. Solo players should sell during the first three minutes after a Guard chase resolves, because the rest of the field is still recovering or repositioning. This Steal a Chicken strategy guide assumes the Merchant is reachable on a clean path; if not, redirect through the back trail that runs behind the pen row.
Outplaying Squads Without a Squad
The hardest part of playing solo is that squads can field a dedicated brawler, runner, and seller simultaneously, while you have to do all three jobs with one character. The counter is not to match their raw firepower; it is to be where they are not.
Baiting Other Thieves
The single most effective solo tactic is to carry one chicken to a visible chokepoint, then drop it and swing your bat the moment a competing thief comes in for the pickup. They will focus on the dropped chicken, which gives you two free seconds to grab a fresh chicken from a nearby nest and break line-of-sight. Squad players rarely expect this because their muscle memory is to protect their own carrier, not to watch for bait.
Escape Routes When the Guard Closes In
The Guard catches solo players more often because there is no teammate to bat him off your back. To compensate, you should always know at least two alternate escape paths from any nest cluster. The standard route goes through the main pen lane, but a backup trail wraps behind the cornfield, and a third option jumps the low wall near the Treadmill. Solo players who survive past night five almost always run a pre-planned three-route rotation, and they switch routes mid-run whenever the Guard's patrol path shifts.
| Situation | Primary Route | Backup Route | Risk Level |
|---|---|---|---|
| Guard chasing, no chicken | Main pen lane | Cornfield trail | Low |
| Guard chasing, chicken in hand | Low wall jump | Cornfield trail | Medium |
| Squad chasing, chicken in hand | Main pen lane | Treadmill sprint | High |
| Guard and squad converging | Drop chicken, bat swing, run | Reset to empty nest | Extreme |
When to Avoid Fights Entirely
Sometimes the correct play is to let a squad win the immediate fight and then steal the prize from whoever survives. After a three-way brawl at a nest, at least one thief is usually limping with low stamina, and the Guard often aggroes onto the loudest combatant. Hanging back during the chaos and picking up the leftovers is a passive but extremely reliable solo earner, especially during the late-night phase when most squads are overextended.
The Five Steal a Chicken Beginner Mistakes That Kill Solo Runs
Every solo player makes these errors at least once, and the difference between a fresh start and a veteran thief is recognizing them before they cost you a pen full of chickens. The Steal a Chicken beginner mistakes list below covers the highest-impact offenders reported by players in the active community channels.
Mistake 1: Spending Cash on Cosmetics Before Pen Upgrades
The pen is your income engine, and cosmetics do not pay for anything. Lock all early Cash into the pen until it can hold at least six chickens, then start splitting spend between Treadmill Speed and bat recharge. A common timing mistake in solo runs is upgrading the bat before the pen's max capacity reaches six, which leaves you with a faster swing but not enough birds in the rotation to actually multiply your per-shift payout — effectively wasting the Speed buff on an empty pipeline. Prioritize the pen slot first, then unlock Treadmill Speed, then drip-feed recharge upgrades only when a chicken count of six is consistently maintained across two full shift payouts.
Mistake 2: Chasing the Guard Instead of the Chicken
A solo player who chases the Guard is a solo player who is not earning. The Guard is a hazard to be avoided, not a target. The only time to engage the Guard is when he is locking onto a chicken you just dropped, which is a niche interaction that rarely matters in solo play.
Mistake 3: Running the Same Route Every Night
Predictable routes are bait for experienced squads and for the Guard's patrol AI, which tracks the three most-frequented path nodes a player has used in the past 72 in-game hours. Rotate at least two of your three escape paths every night — swapping, for example, the rooftop vent for the kitchen dumbwaiter and the back-alley fence hop for the sewer grate — and your survival rate will climb noticeably within a week, since ambush squads rarely camp exit points they have not seen the thief use in the last three rotations.
Mistake 4: Ignoring the Treadmill
The Treadmill gives more speed per Cash spent than any other early upgrade. A solo player who skips the Treadmill in favor of a bigger bat is choosing a worse trade because speed beats damage in every chase scenario you will face solo.
Mistake 5: Selling Eggs One at a Time
Batch selling is faster and safer because each trip to the Merchant exposes you to the Guard and to other thieves. Hold three to five eggs in your pen, then make a single Merchant run with the full stack. This pattern is also more resistant to mid-run interruptions because losing one egg hurts less when you have a buffer.
Reading the Field and Rotating Hot Zones
Solo play is fundamentally about information: knowing which nests are contested, which trails the Guard is patrolling, and which squads are still active on the field. A solo player who runs the same plan every match is a solo player who will be predicted by the rest of the lobby within three nights.
Tracking Guard Patrol Patterns
The Guard follows a roughly fixed patrol route, but the route resets every time he catches a thief. Catching a thief is the Guard's reset trigger, and the new patrol starts from the Guard's current position. This means that any time you see another thief get caught, the entire patrol is about to shift, and you have a 5-10 second window to run through the old patrol path before the Guard locks down the new one.
| Trigger | New Patrol Anchor | Solo Opportunity |
|---|---|---|
| Guard catches a thief | Guard's last position | Run through old patrol |
| Night phase change | Center of map | Contest the central nest |
| Squad wipe at a nest | Same nest, briefly empty | Free pickup window |
| Merchant just paid out | Chokepoint, briefly crowded | Detour to side nest |
Hot Zone Rotation
Most matches see the same three to four nest clusters become "hot" at the same time every night. Solo players who stay on the periphery and rotate into hot zones only after a fight resolves earn nearly as much as the squads, with far less risk. The Steal a Chicken progress guide covers a wider set of progression tactics if you want to deepen the mid-game plan after the solo fundamentals are solid.
Upgrades, Codes, and Long-Term Solo Scaling
Solo play scales through upgrades, not through raw playtime, which means a solo player with a fully upgraded pen and max Treadmill will out-earn a casual squad of three players running default gear. The Steal a Chicken max upgrades reference lists every upgrade tier in the game and the order to take them for solo efficiency.
Upgrade Tier Order for Solo Play
| Priority | Upgrade | Reason |
|---|---|---|
| 1 | Treadmill Speed | Faster run, faster escape |
| 2 | Pen Size | More chickens, more eggs |
| 3 | Bat Recharge | More swings, more nest control |
| 4 | Guard Detection Cooldown | Less time flagged after a chase |
| 5 | Cosmetic unlocks | No gameplay effect |
Code Drop Timing
Codes usually drop when the developer ships a new patch, and the fastest way to catch them is the Kibrix Contact Discord server, which posts new codes ahead of every other channel. Solo players who refresh the Discord at patch time and immediately redeem new codes bank a 1-2K Cash head start over the rest of the lobby, and that head start compounds into a permanently larger pen.
Long-Term Income Curve
A solo player with max upgrades and a six-chicken pen can comfortably out-earn a four-person squad running default gear, because the squad has to split every Merchant payout four ways while you keep 100% of the take. The crossover point where solo income exceeds squad income usually arrives around night seven, provided you have not made the five beginner mistakes listed earlier. Once that crossover lands, the solo playstyle becomes the most Cash-efficient way to play the game, which is exactly the role this Steal a Chicken ultimate guide is built around.
Solo Play vs Squad Play: When to Switch
There is no shame in queuing with friends once your pen is maxed, but solo play remains the fastest path to that maxed state because every coin you earn is yours alone. The decision tree below summarizes when to stay solo and when to squad up based on your current upgrade state.
| Game State | Recommended Play | Reason |
|---|---|---|
| Pen < 4 chickens, no Treadmill | Solo | Build economy fast |
| Pen 4-6, Treadmill tier 1 | Solo | Maximize Cash retention |
| Pen 6+, Treadmill max | Solo or Squad | Either works |
| Contest mode active | Squad | Defend the nest is easier with a team |
| Late night, lobby half-empty | Solo | Less competition, free reign on nests |
Solo play is also the best way to learn the Guard's patrol AI and the bat timing, because there is no teammate to mask your mistakes. Squad play smooths over rough edges, but solo play sharpens them, and the sharpest solo players are the ones who eventually carry squads anyway.
Frequently Asked Questions
Can I really beat squads while playing Steal a Chicken solo?
Yes, once your Treadmill and pen are upgraded, a solo player keeps 100% of every Merchant payout while a four-person squad splits it four ways. Out-earning them is mostly a matter of avoiding fights, rotating hot zones after they resolve, and never losing a chicken to a mid-run Guard chase. A solo player with max upgrades will outpace a default-geared squad by night seven in most lobbies.
What is the best solo strategy for escaping the Guard when I have a chicken?
Always pre-plan three escape routes from every nest cluster, and rotate which two you use each night. The cornfield trail is the safest because the Guard's patrol does not extend there, but the low wall jump is faster when you have a chicken in hand. If both are blocked, drop the chicken and bat the Guard to reset his aggro, which gives you about two seconds of free repositioning.
Should I use my bat on other thieves or just defend myself?
Use the bat offensively to clear nests before you reach them, because a bat swing forces a competing thief to drop whatever chicken they are carrying. Dropped chickens can sometimes be picked up on the same frame if your pathing lines up, and even when they cannot, the swing buys you a clean two-second window to grab a fresh chicken uncontested. Pure defensive bat use is a wasted opportunity in solo play.
How do I redeem codes and what should I spend the Cash on?
Open the game, click the Shop button, scroll to the bottom, type the code exactly as written with the correct capital letters, and hit Redeem. Spend the Cash on Treadmill Speed first, then pen size, because those two upgrades compound across every run. Cosmetics and bat skins are fine to buy later but they do not pay for themselves like the speed and pen upgrades do.
What is the single biggest mistake that ruins solo runs?
Spending Cash on cosmetic items before maxing the pen and Treadmill. A solo player with a default pen and max cosmetics earns less than a solo player with a maxed pen and default cosmetics, because the pen is your income engine and cosmetics are pure visual fluff. Lock your early Cash into the two economic upgrades and only start spending on cosmetics once the pen can hold at least six chickens and the Treadmill is at max tier.